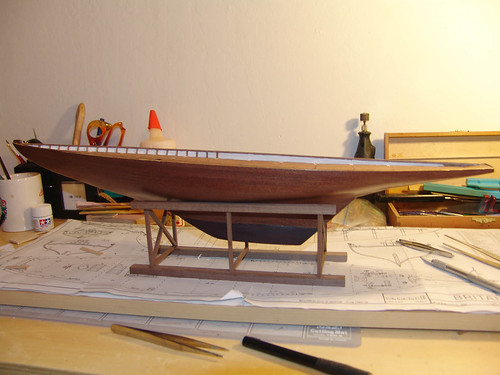
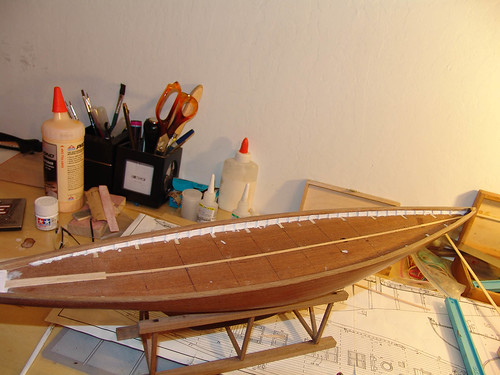
Just finished cutting all this pieces and glueing them to the sides they are 12mm apart. It took me all last nite to cut these little guys and glue them up. I came up with a method using twizzers and tape to compensate for my inability to hold small items and guide my hand in the right direction.

I have finished glueing on the side rails. They are made from five pieces of 1x2mm strips of wood glued together and bent into shape. Now I have started the deck. I started the first piece 40mm to the right side of the center line and at the stern and then ran 80mm pieces to the stern. The end piece of the stern need a small side piece at the end to fill in around the box post (whatever it is called). At 80mm it was 4mm too short. I am sure that I choose the wrong (or incorrect) course here but I cut a longer piece and notched the end to fit around the post. I probably should have used a 40mm piece and then another piece. But hey, it was easier and since this is not a strive for perfection model but rather a get it finished and it looks like a yacht model, I choose the easy way.

I read up on differnet methods of making the chalking lines. I decided since the planks are 2mm wide that I would go with either the lead pencil between each one or just letting the clear coat bring out lines. I will glue some stips up and see what just clear coating them looks like and then make my decision.
I have started collecting anything that looks like it will be useful as a tool when I get to the rigging. This might be another area where having a dentist in the family might come in handy.
Back to planking.